
Install and set up Tenora
This page explains how to add Tenora to your store, choose a preset, customize the theme and publish it. It also explains how to update the theme later.
Before you start
- You need a Shopify store and permission to manage themes.
- Adding a theme does not change your live store. Your current theme stays published until you publish Tenora.
- You can try Tenora for free before you buy it. You pay for the theme when you publish it.
Add the theme from the Theme Store
- Open the Tenora page in the Shopify Theme Store.
- Select the preset you want to start with: Tenora, Terrace or Lantern. Each preset has its own demo store, so you can look at it first.
- Select Try theme to add the theme to your store without publishing it, or Buy theme to buy it now.
- Tenora is added to your theme library in Online Store → Themes.
Choose a preset
Choose the preset that is closest to what you sell. You can change colors, fonts and every other setting later, so the preset is only a starting point.
| Preset | Choose it if you sell |
|---|---|
| Tenora | Furniture for the home: sofas, tables, beds, storage |
| Terrace | Outdoor and garden furniture |
| Lantern | Lighting, lamps and décor, with a dark gallery look |
Preview the theme
- Go to Online Store → Themes.
- Find Tenora in your theme library.
- Select the ... (actions) button, and then select Preview.
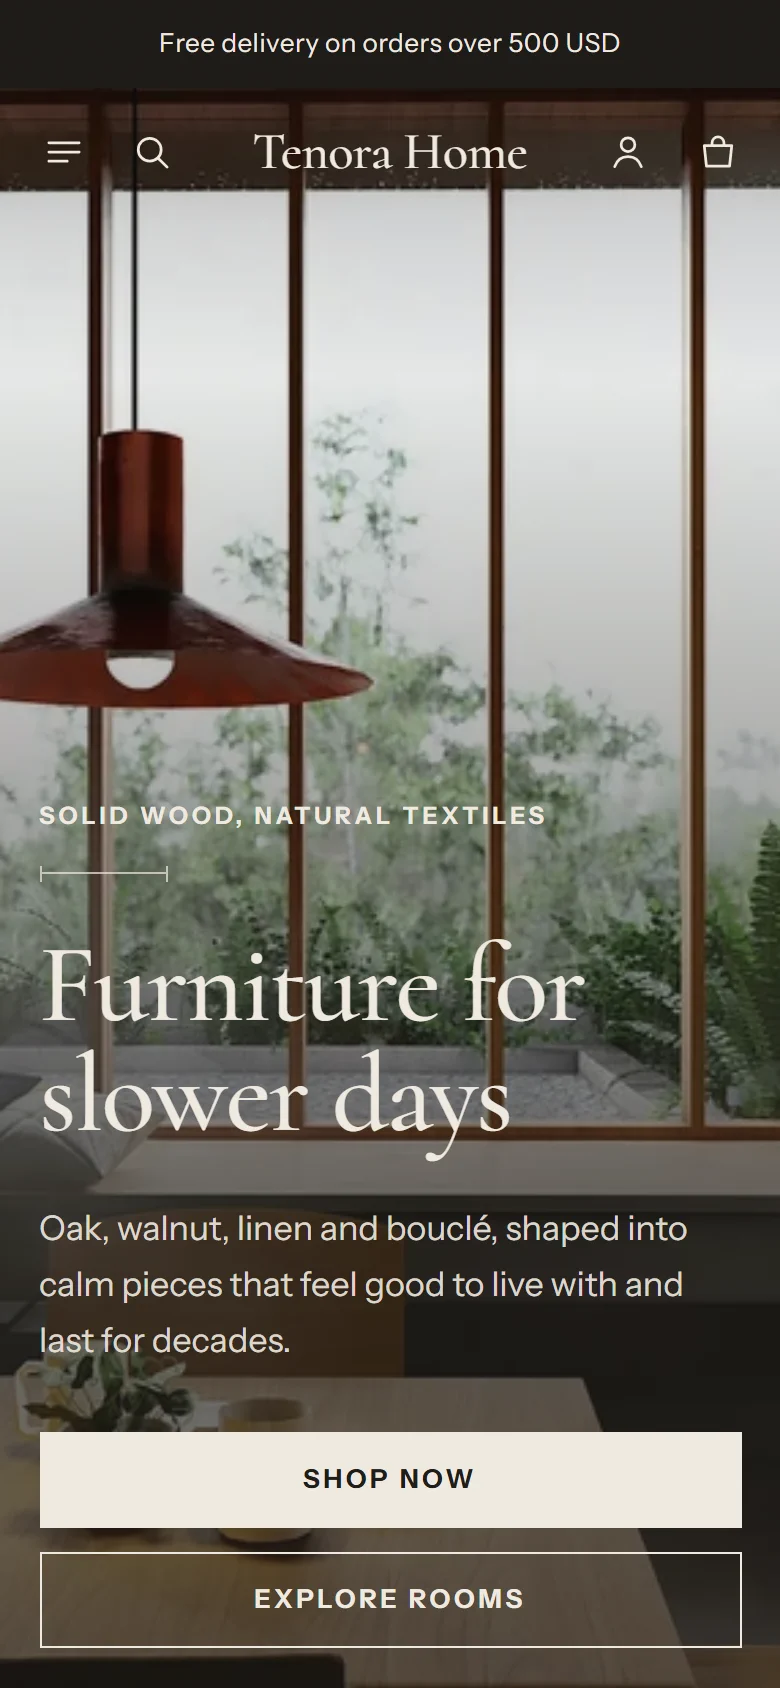
- Look at the home page, a collection, a product page and the cart. Check the store on a phone as well as on a computer.
Customize the theme
- Go to Online Store → Themes.
- On the Tenora theme card, select Customize. The theme editor opens.
- Use the page selector at the top of the editor to open the page you want to edit, for example Home page or Products → Default product.
- Select a section or block in the left sidebar to change its settings.
- Select Theme settings (the gear icon) to change global settings such as colors, fonts and buttons. See Theme settings.
- Select Save when you are done.
We recommend this order:
- Upload your logo and favicon in Theme settings → Logo and favicon.
- Check your colors in Theme settings → Colors.
- Set your main menu in the Header section. The Main menu setting uses the menu with the handle
main-menuby default. - Replace the home page images, text and products with your own.
- Set up product data for the furniture features. See Metafields and metaobjects setup.
Publish the theme
- Go to Online Store → Themes.
- Find Tenora in your theme library.
- Select the ... (actions) button, and then select Publish.
- Confirm. Tenora is now your live theme.
If you used Try theme, Shopify asks you to buy the theme before you can publish it.
What the presets change
A preset sets the global theme settings and, when you add the theme, the content of the home page, header and footer.
| Setting | Tenora | Terrace | Lantern |
|---|---|---|---|
| Colors | Warm off-white, dark brown text, wood-brown accent | Pale stone, dark green text, moss accent, terracotta scheme | Near-black backgrounds, light text, brass accent |
| Heading font | Cormorant | Fraunces | Bodoni Moda |
| Body font | Instrument Sans | Work Sans | Manrope |
| Grain texture | On | On | Off |
| Page width | Standard (1440px) | Standard (1440px) | Wide (1680px) |
| Section spacing | Standard | Standard | Spacious |
| Grid spacing | 24px | 20px | 32px |
| Button corner radius | 0px | 24px | 0px |
| Button capitalization | Uppercase | Default | Uppercase |
| Input corner radius | 0px | 8px | 0px |
| Card style | Swatch | Standard | Framed |
| Card image ratio | Portrait | Square | Square |
| Card corner radius | 0px | 8px | 0px |
The home page of each preset uses the same sections in a different order and with different content. All three home pages include the Image banner, Featured collection, Collection list, Featured product, Shop the room, Image with text, Testimonials, Blog posts and Email signup sections.
All other settings (cart, search, currency format, logo width and body font size) are the same in every preset.
Change the style after installation
In the theme editor, Theme settings can show the theme styles of the presets. Selecting a different style changes the global settings, such as colors and fonts. It does not replace your home page content, header or footer.
If you want the home page of a different preset, add Tenora again from the Theme Store with that preset. It is added to your theme library as a separate theme.
Update the theme
We release updates with fixes and improvements. The theme version is shown in your theme library.
- When an update is available, Shopify shows a notice on the theme card in Online Store → Themes.
- Select the update option on the theme card.
- Shopify adds the updated version to your theme library as a new theme. Your theme settings and content are copied to it.
- Preview the updated theme and check your main pages.
- Publish the updated theme when you are ready.
Note: Changes that you or a developer made to the theme code are not copied to the updated version. Keep a list of code changes so that you can make them again. We recommend putting custom code in Custom Liquid sections and blocks, which are saved as settings.